Mastering the Art of Wood Relief Sculpture: Techniques and Tips
Wood relief sculpture offers a captivating blend of two-dimensional and three-dimensional art, creating depth, texture, and visual interest through the manipulation of wood surfaces. In this article, we delve into the intricacies of wood relief sculpture, exploring techniques and offering tips to help artists master this unique art form.
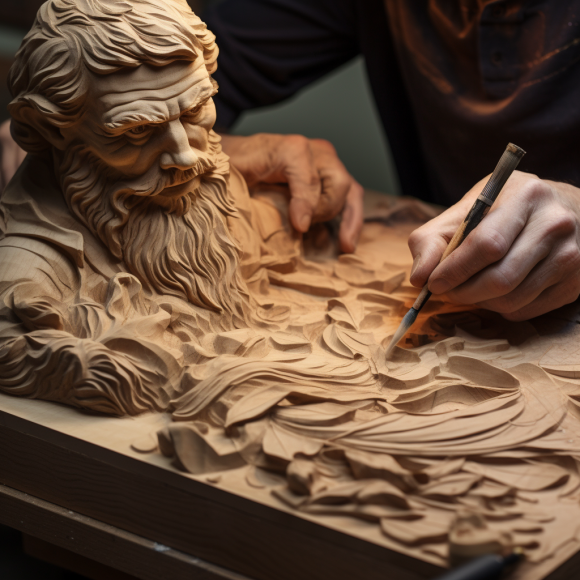
Understanding Wood Relief Sculpture: Wood relief sculpture involves carving or sculpting images or designs onto the surface of a flat wood panel, creating a sense of depth and dimensionality. Unlike traditional sculpture, which is freestanding and viewed from multiple angles, relief sculpture is typically viewed from a single vantage point, with elements projecting outward from the background. This technique allows artists to convey narratives, patterns, and textures with precision and detail.
Choosing the Right Wood Panel: Selecting the appropriate wood panel is crucial for the success of a relief sculpture. Consider factors such as wood type, grain direction, and thickness when choosing a panel for your project. Hardwoods such as oak, maple, and cherry are ideal for intricate carving, while softer woods like pine or cedar may be more suitable for low-relief work. Ensure that the wood panel is properly seasoned and free from defects or imperfections that could compromise the integrity of the sculpture.
Planning and Designing Your Relief Sculpture: Before embarking on your relief sculpture, take time to plan and design your composition. Sketch out your ideas on paper, experimenting with different compositions, proportions, and motifs. Consider the overall theme or narrative you wish to convey and how elements will interact within the confines of the wood panel. Pay attention to the balance of positive and negative space, as well as the hierarchy of forms and focal points within the composition.
Carving and Shaping Techniques: There are several techniques for carving and shaping wood in relief sculpture, each yielding different effects and textures. For high-relief sculpture, carve away large areas of wood to create dramatic depth and projection. For low-relief or bas-relief sculpture, carve shallowly into the wood surface to create subtle gradations of form and shadow. Experiment with gouges, chisels, and other carving tools to achieve precise lines, curves, and contours in your sculpture.
Adding Texture and Detail: Texture plays a vital role in wood relief sculpture, adding visual interest and tactile richness to the surface. Experiment with different carving techniques to create varied textures, from smooth polished surfaces to rough hewn finishes. Use tools such as rasps, rifflers, and wire brushes to add detail and refinement to your sculpture, enhancing the overall realism and depth of the composition.
Finishing and Presentation: Once your relief sculpture is complete, take care to finish and present it in a way that enhances its aesthetic appeal. Consider staining or painting the wood to accentuate details and add visual interest. Mount the sculpture on a sturdy backing board or frame to provide support and protection. Finally, consider the lighting and display environment, ensuring that the sculpture is illuminated in a way that highlights its unique characteristics and enhances its overall impact.
Wood relief sculpture offers artists a rich and versatile medium for creative expression, combining elements of carving, sculpting, and painting to create captivating works of art. By mastering techniques such as panel selection, planning, carving, texture, and finishing, artists can unlock the full potential of relief sculpture and create stunning compositions that engage and inspire viewers. With patience, practice, and a keen eye for detail, artists can elevate their skills and create masterful works of wood relief sculpture that stand the test of time.

